A metal zipper that slowly opens can ruin an otherwise dependable garment. I have experienced this with jeans, jackets, and a small travel pouch. The slider looked normal, yet it drifted downward during ordinary movement. That small failure became especially frustrating on crowded commutes and long walks.
Learning how to stop a metal zipper from sliding down starts with identifying the real cause. The slider may be loose, the teeth may be worn, or the fabric may pull against the zipper tape. Sometimes, the problem is simply an overloaded pocket. It is easy to blame the zipper too quickly. Check the garment carefully first. Look for bent teeth, a damaged stopper, uneven stitching, or a slider that feels unusually weak.
This guide explains practical methods used in everyday clothing care. Some solutions require only a careful adjustment, while others need a replacement slider or professional repair. A temporary elastic loop may help, but it should not hide serious damage. I once relied on a quick fix for too long, and the zipper eventually failed completely. That mistake is worth remembering.
You will learn how to test the zipper, tighten it safely, and choose a suitable repair method. The goal is not merely to force the zipper closed. It is to restore dependable tension without damaging the fabric or metal teeth. Work slowly. Small details matter.
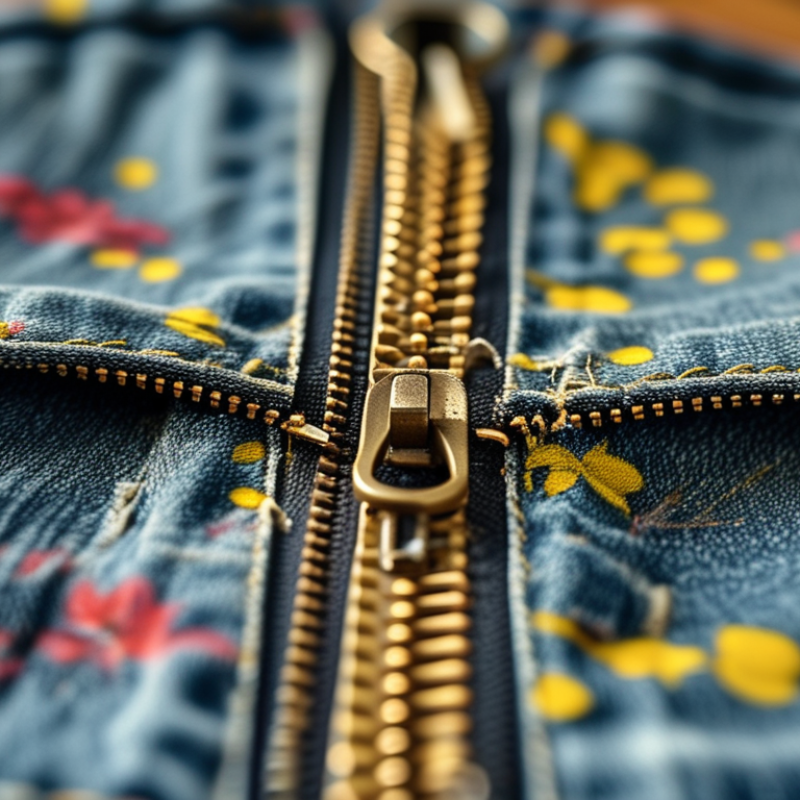
How to Stop a Metal Zipper from Sliding Down Easily
Identify Why the Metal Zipper Slides Down
A metal zipper usually slides down because the slider no longer grips the teeth firmly. In garment repairs, I check the slider before changing the whole zipper. Look for widened metal, a loose pull tab, or teeth that separate under light pressure. A worn slider may feel smooth but still fail during movement.
Fabric tension can also cause the problem. Tight waistbands pull the zipper sideways, especially when sitting or bending. The zipper may also be too short for the opening, forcing pressure onto the top section. Dirt, thread, or bent teeth can create uneven movement. I once blamed the zipper teeth immediately. That assumption was wrong. The slider was slightly distorted.
Tips: Zip the garment slowly and watch where separation begins. If the slider feels loose, gently test its grip with your fingers. Do not crush it aggressively. Small adjustments can make the zipper worse. Remove trapped threads with fine tweezers, then inspect every tooth under bright light. A temporary hook, snap, or internal button can reduce pressure while you assess the repair. If the teeth are bent or missing, replacing only the slider may not provide reliable results.
| Possible Cause | Typical Symptoms | How to Check It | Recommended Action | Useful Tools or Materials | Risk Level |
|---|---|---|---|---|---|
| Loose or worn zipper slider | The slider moves down under light tension, and the zipper teeth separate behind it. | Close the zipper and gently pull both sides of the tape apart. If the teeth open behind the slider, the slider may no longer be gripping correctly. | Have the slider slightly tightened with small, controlled pressure on both sides. Replace it if the metal body is cracked, distorted, or excessively worn. | Small pliers, replacement slider, matching zipper size | High |
| Worn or damaged zipper teeth | One or more teeth are bent, missing, flattened, or misaligned. The zipper may close unevenly or reopen shortly afterward. | Inspect the entire chain under good lighting, especially the area where the zipper repeatedly separates. | Replace the zipper if teeth are missing or severely damaged. Do not force the slider over a bent tooth because this can damage the slider. | Bright light, magnifying glass, replacement zipper | High |
| Fabric caught in the slider | The slider feels stiff, stops suddenly, or moves backward after the garment or item is released. | Look for lining, thread, or fabric trapped between the slider and the teeth. | Move the slider back slowly while pulling the trapped fabric away from the zipper path. Avoid forcing the slider. | Tweezers, blunt needle, sewing scissors | Medium |
| Excessive tension on the zipper | The zipper stays closed when the item is empty but slides down when the garment or bag is stretched or heavily loaded. | Close the zipper, reduce the load or body tension, and observe whether the sliding stops. | Reduce strain, redistribute the contents, loosen the fit, or add a secondary fastening such as a snap, hook, or internal strap. | Secondary fastener, thread, needle, sewing machine | Medium |
| Slider is the wrong size or type | The slider feels too loose, runs unevenly, or does not align properly with the metal teeth. | Compare the slider width and tooth spacing with the original zipper. A replacement slider should match the zipper construction and size. | Install a compatible slider instead of forcing an oversized or undersized one onto the zipper chain. | Caliper or ruler, compatible replacement slider, pliers | High |
| Missing or weak top stop | The slider travels beyond the intended end of the zipper or becomes difficult to position correctly. | Inspect both upper ends of the zipper for a missing, loose, or damaged stop. | Replace the top stop or reinforce the end with several tight, secure stitches. Keep the slider away from the edge while repairing. | Replacement stop, pliers, strong sewing thread, needle | Medium |
| Oil, dirt, or residue on the teeth | The zipper moves irregularly, feels gritty, or does not fully engage along the chain. | Examine the teeth for lint, dust, dried adhesive, or oily residue. | Clean the teeth with a soft brush and mild soapy water when suitable for the item. Dry completely before testing the zipper. | Soft brush, mild soap, clean cloth, water | Low |
| Insufficient lubrication | The slider requires excessive force and may fail to seat the teeth evenly. | After cleaning, check whether the slider still feels dry or resistant while the zipper remains correctly aligned. | Apply a small amount of zipper lubricant, beeswax, or graphite to the teeth. Open and close the zipper several times to distribute it. | Zipper lubricant, beeswax, or graphite pencil | Low |
| Misaligned zipper tape | The two sides of the zipper are uneven, causing the slider to twist or release the teeth. | Lay the zipper flat and compare the height and alignment of both tape edges and tooth rows. | Realign the zipper before closing it. If the tape has shifted permanently, resew the affected section or replace the zipper. | Seam ripper, needle, thread, sewing machine | Medium |
| Damaged slider pull or locking mechanism | The pull tab does not lie flat, or the slider lacks a functional locking feature and moves when the item is flexed. | Move the pull tab into its normal resting position and test whether the slider remains stationary. | Replace the slider if the pull tab or internal locking mechanism is broken. If the zipper has no lock, use a small loop, hook, or secondary closure. | Replacement slider, small pliers, thread, hook or loop | Medium |
| Incorrect closing technique | The zipper repeatedly separates after being closed, although the teeth and slider appear undamaged. | Make sure the slider is fully seated and the zipper sides are not twisted before applying tension. | Hold the zipper tape straight, guide the slider smoothly, and avoid pulling the garment or bag apart while closing it. | No special tools required | Low |
| Permanent wear from repeated use | The problem returns after cleaning, lubrication, or a temporary slider adjustment. | Compare the slider, teeth, tape, and stops with an unused section of the zipper. | Replace the worn slider or the complete zipper. A temporary adjustment is unlikely to provide a durable result when several components are worn. | Replacement zipper or slider, sewing tools | High |
: Repeated pulling can widen the slider. Fitted trousers and bags often create extra strain.
Yes, sometimes. Use fine-nose pliers and cover the slider with a cloth.
Close the zipper fully. Hold the slider body, not the pull tab. Press one side gently, then the other. Make tiny squeezes.
Use light, one-second squeezes near the slider’s center. Test movement after every squeeze.
The slider may become stiff or difficult to move. Stop and reassess.
Thread a small elastic loop through the pull. Stretch it over the top button.
Sew tight stitches across the zipper tape below the slider. Avoid the metal teeth.
Hang the garment and move gently. Test it while sitting, bending, and walking.
Replace it if the teeth separate, the tape curls, or the slider slips again. More pressure will not always help.
Do not force damaged teeth into alignment. I have pressed too hard before. The fabric wrinkled, and the zipper became stiff.
If you are wondering how to stop a metal zipper from sliding down, begin by identifying the cause. The slider may be loose, the teeth may be worn, or the fabric may be under constant tension. Clean the zipper gently to remove dirt and check whether the teeth align correctly. You can then increase friction by applying a small amount of dry soap, candle wax, or zipper-safe lubricant, using only enough to help the slider move smoothly while staying in place.
If the slider still slips, carefully tighten it with small pliers by pressing its sides inward a little at a time. Avoid applying too much force, as this can prevent the zipper from moving. For extra security, add a temporary thread loop, a small fabric tab, or a discreet hand-stitched stop near the top. Test the repair by opening and closing the zipper repeatedly, and reduce future slippage by avoiding overloading the garment and storing it without unnecessary tension.

 Gemify zipper